Why the Perfect Sear Matters
The art of searing is often considered the hallmark of expert cooking. That golden-brown crust, whether on a juicy steak, crispy vegetables, or a perfectly seared fish fillet, doesn’t just look appetizing—it locks in flavor, adds texture, and elevates the overall dish. But achieving that balance of a crispy exterior and tender, juicy interior can be a challenge for many home cooks.
If you’ve ever wondered why restaurant dishes have that irresistible finish or why your homemade meals lack the same visual appeal and flavor, you’re not alone. The secret lies in understanding the science behind the process, from selecting the right ingredients to mastering heat control.
Key Benefits of a Good Sear
- Flavor Explosion: The Maillard reaction develops rich, complex flavors.
- Visual Appeal: A golden-brown crust adds to the dish’s aesthetic.
- Textural Contrast: Crisp exteriors complement tender interiors.
Let’s dive into how to achieve this culinary feat, breaking it down step by step for foolproof results every time.
Step-by-Step Guide to the Perfect Sear
1. Choosing the Right Ingredients
The first step to mastering the sear starts with ingredient selection. High-quality proteins and fresh vegetables work best, as they respond well to heat and deliver the best flavor and texture.
| Ingredient | Tips |
|---|---|
| Proteins (e.g., steak, chicken, fish) | Choose well-marbled cuts or fresh fillets. |
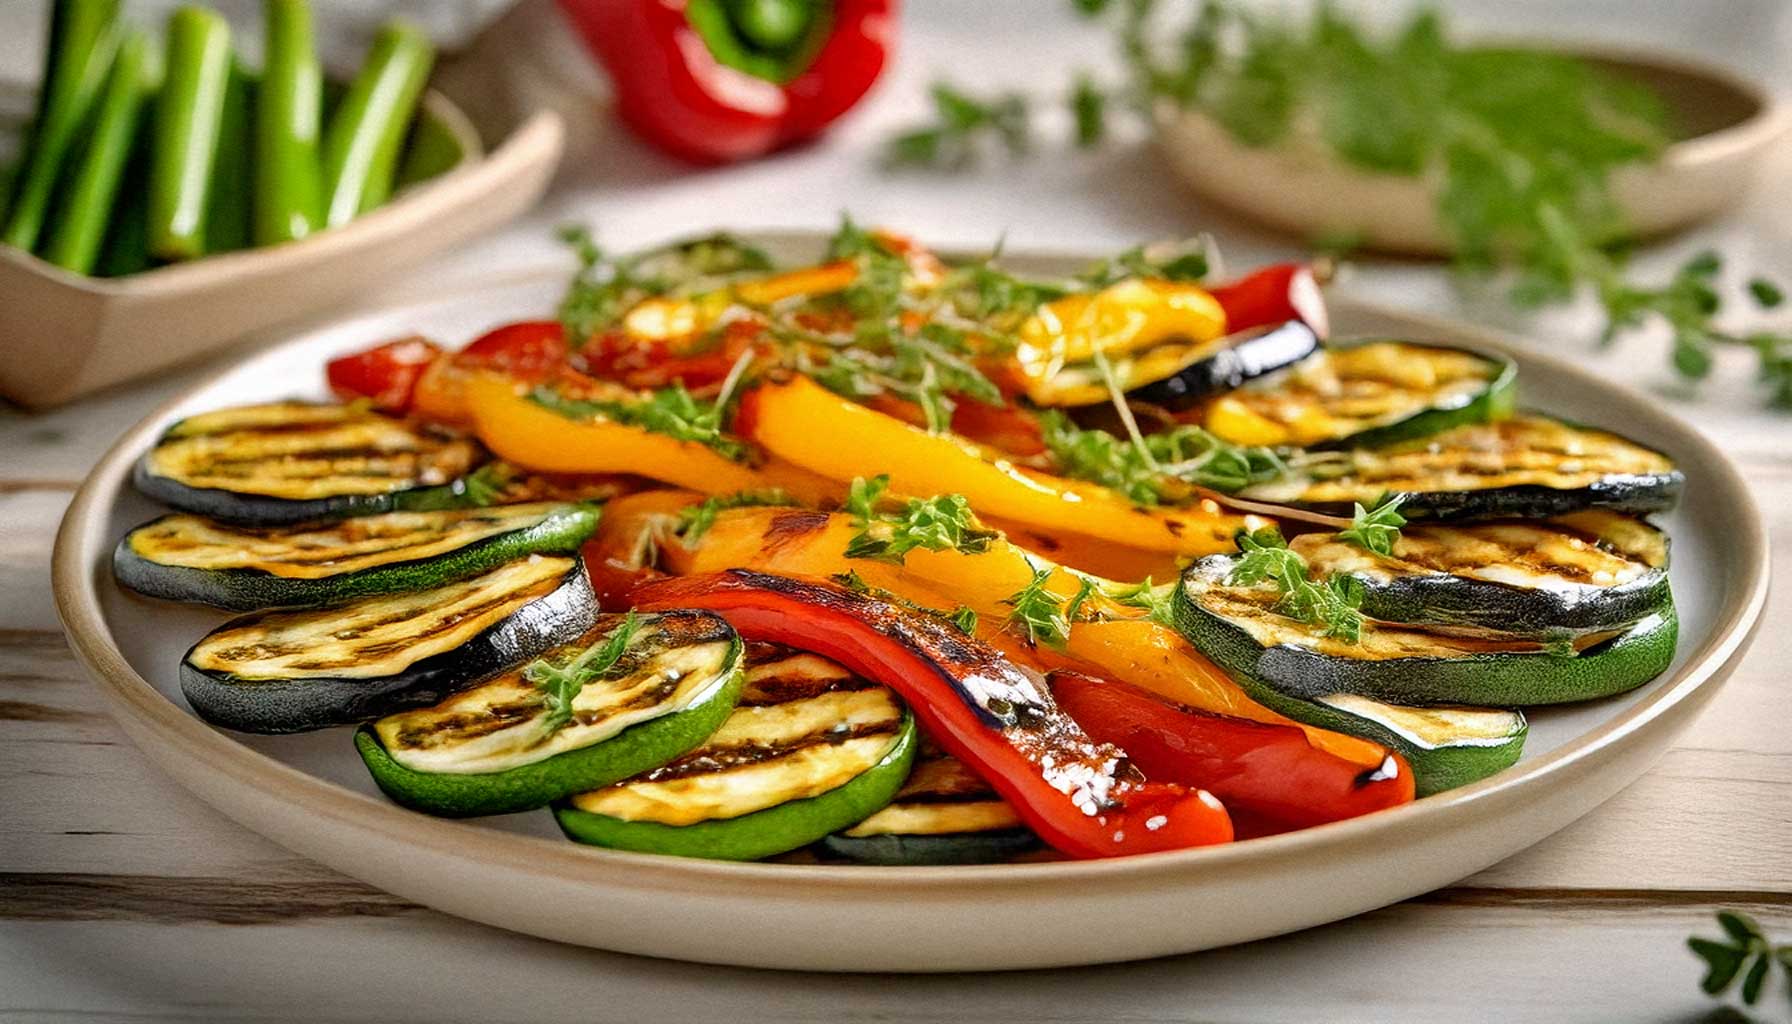
| Vegetables (e.g., zucchini, asparagus) | Opt for firm, dry vegetables that caramelize easily. |
2. Preparing Your Ingredients
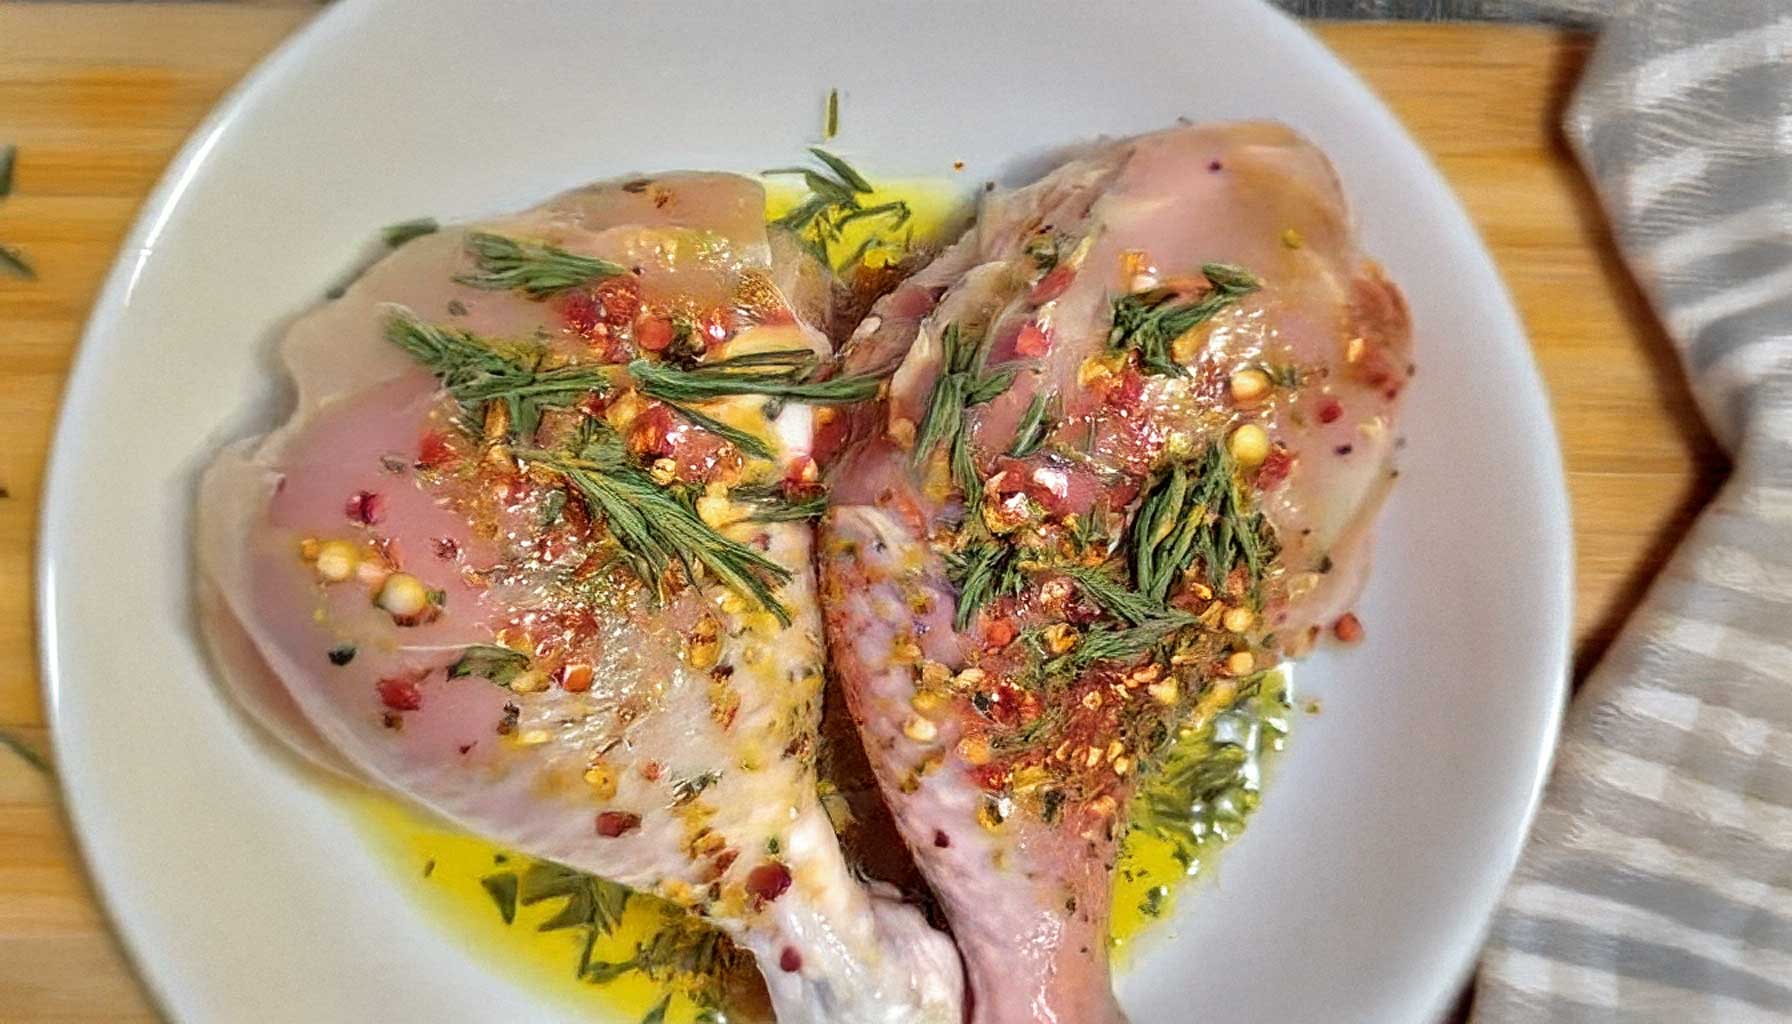
Pat your ingredients dry before cooking. Moisture is the enemy of a good sear—it causes steaming rather than browning. A light coat of oil and seasoning ensures maximum flavor and an even crust.

3. Heating Your Pan
The key to a perfect sear is a hot pan. Cast iron or stainless steel pans are ideal as they hold and distribute heat evenly. Preheat the pan for 2-3 minutes before adding oil. When the oil shimmers, you’re ready to sear!
Tip: Avoid non-stick pans for high-heat searing as they can’t withstand high temperatures without releasing harmful chemicals.
4. Searing with Precision
Once your pan is prepped, place your ingredients in the pan without overcrowding. This ensures even cooking. Resist the urge to move your food too soon—let the crust develop undisturbed for 2-4 minutes before flipping.
Mastering the Technique: Tips and Tricks
5. Timing and Turning
Timing is crucial when it comes to searing. A perfectly seared crust develops when the surface comes in full contact with the heat for a specific period without disturbance. Flipping too early or too often can result in uneven browning and loss of texture.
- Timing: For proteins like steak or chicken, sear for 3-4 minutes per side. For vegetables, 2-3 minutes per side works best.
- Indicators: Look for a golden crust forming along the edges before flipping.
Once flipped, the second side may sear slightly faster due to residual heat. Monitor closely to avoid overcooking.
6. Resting Your Food
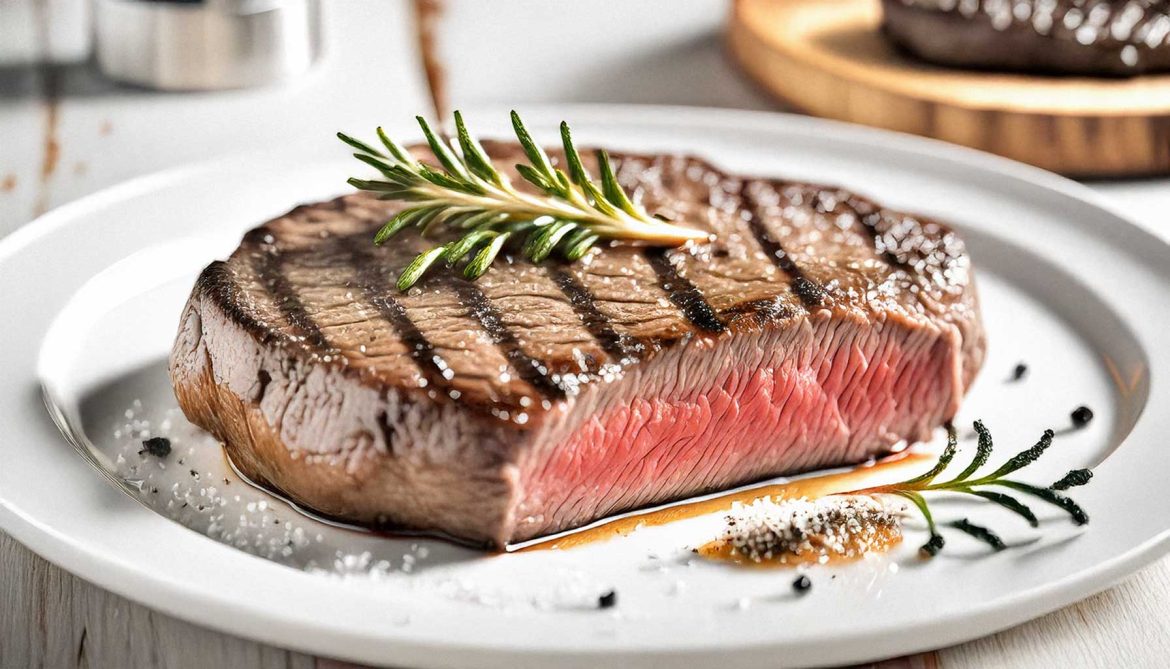
After searing, always allow your food to rest before serving. This step is critical, particularly for proteins, as it allows the juices to redistribute evenly, ensuring tenderness and flavor. A rest time of 5-10 minutes is typically sufficient.
“Patience pays off in cooking—a rested steak is a juicier steak!”
7. Avoiding Common Pitfalls
While searing may seem straightforward, several mistakes can hinder the process. Avoid these common errors:
- Overcrowding the Pan: This traps steam and prevents proper browning.
- Starting with Cold Ingredients: Bring proteins and vegetables to room temperature for even cooking.
- Using Too Much Oil: Excess oil can lead to frying rather than searing.
By keeping these factors in mind, you’ll be on your way to consistently stunning results in the kitchen.
Enhancing Your Dishes with Creative Variations
Adding Layers of Flavor
A perfect sear is just the beginning. Elevate your dishes by incorporating complementary flavors and textures. Here are some ideas:
- Compound Butters: Top seared steak or fish with herb-infused butter for a rich finish.
- Sauces: Deglaze the pan with wine or stock to create a quick and flavorful sauce.
- Seasonal Toppings: Garnish with fresh herbs, caramelized onions, or crispy garlic for added flair.
Experimenting with Ingredients
The searing technique isn’t limited to traditional proteins or vegetables. Try these creative options:
- Fruits: Sear halved peaches or pineapples to caramelize their natural sugars.
- Cheese: Halloumi cheese develops a crispy, golden crust without melting.
- Tofu: Achieve a crispy exterior by thoroughly drying and seasoning tofu before searing.

With a little creativity, searing can transform everyday ingredients into extraordinary dishes that impress the senses.
Inspiring Confidence in Your Culinary Journey
Bringing It All Together
Mastering the searing technique is more than just a way to improve your cooking—it’s an essential skill that unlocks a world of culinary possibilities. With the steps outlined above, from choosing the right ingredients to achieving a perfect crust, you now have the tools to elevate your dishes to restaurant-quality levels.
Remember, practice makes perfect. Don’t be afraid to experiment, make mistakes, and learn from them. Cooking is as much about the journey as it is about the destination. Each time you sear a piece of meat or caramelize vegetables, you’ll build confidence and refine your technique.
Searing Beyond the Basics
Once you’ve mastered the essentials, take your skills to the next level with these advanced techniques:
- Reverse Searing: Slowly cook proteins in the oven before finishing with a high-heat sear for even doneness and a perfect crust.
- Seasoning Layers: Use rubs, marinades, or crusting techniques (like breadcrumbs or Parmesan) to add depth to your dishes.
- Temperature Precision: Invest in tools like an infrared thermometer to ensure your pan is at the optimal heat.
These methods can elevate even the simplest recipes into dishes worthy of a dinner party centerpiece.
A Final Thought: Cooking with Confidence
The journey to mastering a perfect sear is not about perfection—it’s about cultivating a love for cooking and an appreciation for the nuances of flavor and texture. As you experiment with different ingredients and techniques, you’ll find your own rhythm and style in the kitchen.
“Cooking is not just about feeding the body; it’s about nourishing the soul. A well-seared dish is a celebration of both.”
We hope this guide has inspired you to embrace the art of searing and infuse it into your culinary repertoire. Now it’s your turn to take these tips, step into the kitchen, and create something extraordinary. Share your experiences, try new variations, and most importantly, enjoy the process!
Share Your Success
If you’ve tried these techniques, we’d love to hear about it! Share your favorite recipes, post photos of your seared creations, or ask questions in the comments below. Together, we can build a community of passionate home cooks striving for excellence in every dish.


