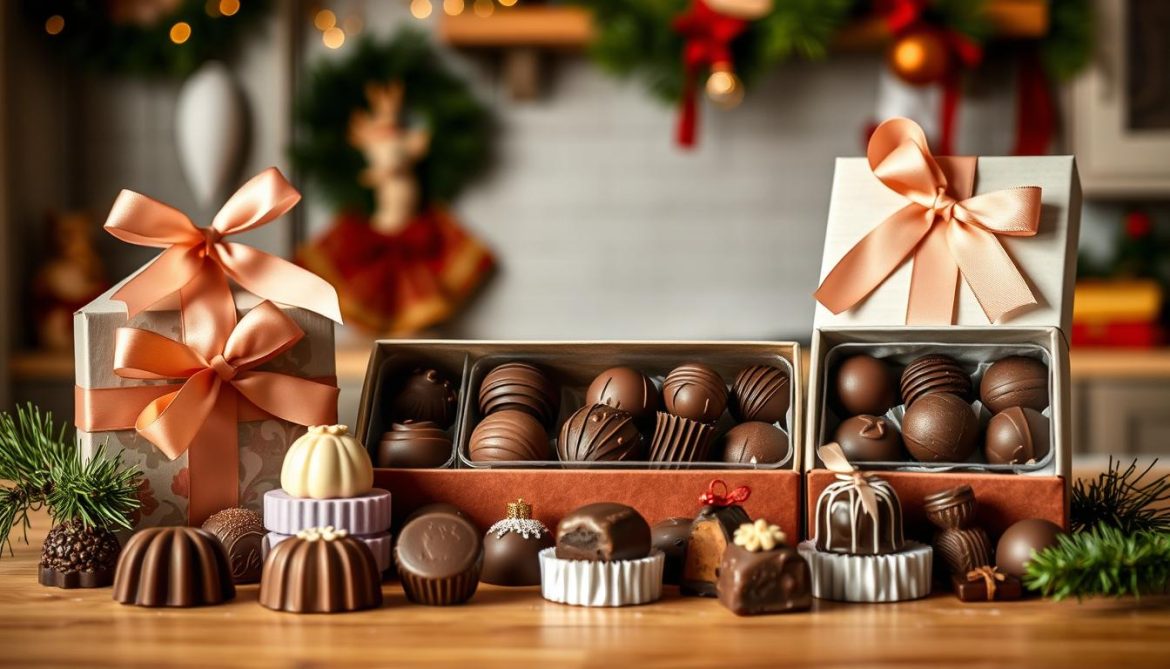
Making homemade chocolates is a fun and rewarding hobby. It lets me create special gifts for my loved ones. I love turning simple ingredients into delicious treats that are full of flavor and style.
In this guide, I’ll share my knowledge with you. We’ll explore the world of homemade chocolates together. You’ll learn how to pick the best ingredients and how to temper chocolate to make amazing treats.
Whether you’re new to making chocolates or have been doing it for years, this article is for you. You’ll learn how to make chocolates, confectionery, desserts, sweets, and treats that will wow your family and friends. Let’s start this tasty adventure together and make handcrafted chocolates at home.
The Magic of Creating Handcrafted Chocolates at Home
Making your own chocolates at home is incredibly rewarding. It involves understanding different cacao types and mastering key techniques. The world of chocolate-making is full of wonder, waiting for you to discover it.
Understanding Chocolate Types and Their Uses
Creating amazing homemade chocolates starts with knowing the unique qualities of cocoa beans. Dark chocolate is great for rich, intense treats like truffles. Milk chocolate is creamier and perfect for everyday snacks and baking.
White chocolate is subtle and great for delicate flavors and creative pairings.
Essential Equipment for Chocolate Making
- High-quality chocolate thermometer
- Tempered glass or stainless-steel bowls
- Flexible silicone spatulas
- Variety of chocolate molds
- Clean, dry work surface
Basic Techniques You Need to Master
Learning chocolate-making begins with the basics. You need to control temperature, melt, and temper chocolate correctly. Also, molding is key for the right texture and look. With practice, you’ll make professional-quality chocolates at home.
“The key to creating exceptional homemade chocolates lies in comprehending the unique properties and flavor profiles of various cocoa beans.”
Starting with Quality Ingredients: A Guide to Chocolate Selection
Creating delicious homemade chocolates starts with the right ingredients. Choosing high-quality cocoa and chocolate bars is key. This ensures your chocolates have rich flavors and smooth textures.
The cocoa percentage matters a lot. Higher percentages mean deeper, more complex flavors. For those who love dark chocolate, look for chocolate bars with 70% cocoa or more. These will give your chocolates a bold taste.
If you prefer milder chocolate, choose bars with 50-60% cocoa. These have a smoother taste, perfect for milk and white chocolate treats.
| Cocoa Percentage | Flavor Profile | Best Used For |
|---|---|---|
| 70% and above | Intense, complex, and robust | Dark chocolate creations |
| 50-60% | Smooth, creamy, and mild | Milk and white chocolate confections |
Look for well-known brands when buying chocolate bars. Brands like Ghirardelli, Valrhona, and Lindt are great. They offer many cocoa percentages and flavors to try.
“The finest chocolate is dark, complex, and unafraid to be bitter. Beware the shiny, over-sweet-tasting chocolate bars that proliferate on the market; their contents often fail to live up to their luxurious appearance.”
– Rowan Jacobsen, food writer and author
Basic Chocolate Tempering Techniques for Perfect Results
Tempering is key in chocolate-making. It gives chocolate a glossy look and a nice snap when you bite it. This process changes the cocoa butter crystals to get the right texture and look.
Different Tempering Methods Explained
There are many tempering methods to try. The seeding method uses a bit of pre-tempered chocolate to start the process. The tabling method spreads chocolate on a cool surface to temper it. The microwave method melts chocolate in short bursts, stirring between each.
Common Tempering Mistakes to Avoid
- Don’t overheat the chocolate. This can make it dull and grainy.
- Never add water or other liquids to the chocolate. It will seize and become unusable.
- Tempering is crucial. Skipping it will make the chocolate soft and easily melted.
Signs of Properly Tempered Chocolate
Good tempered chocolate looks glossy and smooth. It snaps well and keeps its shape at room temperature. It also has a consistent texture and doesn’t get white or gray streaks.
Learning to temper chocolate is vital for making great homemade chocolates. Knowing the methods and avoiding mistakes will help you get perfect results every time.
Chocolates: From Bean to Beautiful Confections
Making homemade chocolates is a journey that starts with cocoa beans. These small wonders are the base of chocolate-making. Learning about their journey can open up a world of flavors.
The adventure begins with cocoa beans from the cacao tree, found in Central and South America. These beans are fermented, dried, and roasted. This process brings out their rich aroma and taste. The quality of the cocoa beans greatly affects the taste of the chocolate bars.
After the beans are ready, they are cracked. The nibs, the bean’s inner part, are taken out. These nibs are then ground into a smooth cacao paste. This paste is the base of all chocolate and lets home chefs make many tasty treats.
- Choosing high-quality cocoa beans from trusted sources
- Learning about fermentation and roasting to enhance flavor
- Grinding the beans into a smooth, rich cacao paste
- Trying different chocolate bar recipes and flavors
Exploring the journey from cocoa beans to chocolate bars lets chocolate lovers create amazing treats. These treats show the depth and complexity of chocolate.
“Chocolate is not just a luxury, it’s a passion, a way of life, and a journey of endless possibilities.”
Creating Luxurious Chocolate Truffles at Home
Chocolate truffles are the ultimate treat, and making them at home is very rewarding. With a few easy steps, you can make these small sweets that will wow your loved ones.
Classic Ganache Recipes
The key to a great truffle is the ganache. It’s made from top-notch chocolate and heavy cream. To make basic ganache, melt the chocolate and mix in warm cream until it’s smooth.
For a deeper flavor, add a bit of vanilla or your favorite liqueur to the ganache.
Rolling and Coating Techniques
- When the ganache is firm, it’s time to roll the truffles. Take small pieces and shape them into balls by rolling them in your hands.
- To get that classic look, roll the truffles in cocoa powder, chopped nuts, or coconut. Or, dip them in melted chocolate for a shiny finish.
Flavor Variations and Combinations
Truffles are a canvas for creativity. Try adding espresso, sea salt, cinnamon, or cardamom to the ganache. You can also mix in dried fruits, nuts, or liqueurs for unique flavors.
Making truffles at home is a fun and rewarding hobby. With the right skills and creativity, you can make sweets that are almost gourmet. Start making chocolate truffles and become your own confectioner!
Mastering Pralines and Filled Chocolates
Pralines and filled chocolates take chocolate-making to a new level. They offer a rich and indulgent treat. To master them, you need to learn special techniques.
Pralines are a Southern favorite with a creamy filling in a caramel shell. Making great pralines means having a smooth filling and a crisp shell. With the right tempering and cooking, you can get the perfect texture and taste.
Filled chocolates let you get creative with different fillings in a chocolate shell. You can use everything from classic ganaches to new flavors. It’s all about mastering the art of filling and sealing to make them look and taste amazing.
Crafting Praline Perfection
To make perfect pralines, start with a creamy filling. Mix toasted pecans, sugar, and cream until it’s just right. Then, temper the chocolate and fill the molds carefully. Let them set and then enjoy.
Filled Chocolates: A World of Flavor
Filled chocolates are a blank canvas for your creativity. You can fill them with everything from classic ganache to unique flavors like chili caramel or Earl Grey. Try different fillings to create unique and tasty treats.
| Praline Filling | Filled Chocolate Fillings |
|---|---|
| Toasted Pecans, Sugar, Cream | Chocolate Ganache, Caramel, Fruit Jams, Nut Butters |
Whether you’re working on pralines or filled chocolates, it’s a fun and tasty journey. Don’t be afraid to try new things and let your creativity shine in every bite.
Decorative Techniques for Professional-Looking Results
Turning your homemade chocolate into a pro-level masterpiece is all about decoration. You can use transfer sheets or make your own chocolate decorations. These methods can make your treats look like edible art.
Working with Transfer Sheets
Transfer sheets are a big help for adding cool designs to your chocolates. They are thin, flexible, and have food-safe designs. Just place the sheet on the chocolate, press gently, and lift to see a beautiful design.
Creating Chocolate Decorations
- Chocolate Curls: Use a vegetable peeler to make thin, ribbon-like curls from tempered chocolate.
- Chocolate Shavings: For a rustic look, use a sharp knife or cheese grater to make thin, flaky shavings.
- Molded Decorations: Use silicone molds in different shapes to create cool chocolate decorations.
Adding Color and Shine
Adding bright colors and shine can make your chocolates look amazing. Brush melted cocoa butter on the chocolate for a glossy look. Then, sprinkle with edible luster dust or coloring agents for extra sparkle.
With these decoration techniques, you can make your homemade chocolates look like they came from a pro. Get creative and show off your chocolate-making skills!
Packaging Your Homemade Chocolates for Gifting
Presenting your homemade treats, indulgences, and sweets in a visually appealing way is key. It makes them irresistible gifts. Whether you’re creating a decadent box of chocolates or a rustic assortment of handcrafted confections, the right packaging can elevate your creations. It showcases your artistry.
Start by selecting the perfect storage containers to maintain the freshness and integrity of your chocolates. Airtight tins, elegant boxes, or even repurposed mason jars can all work beautifully. Choose materials that complement the style of your sweets.
For a personal touch, create custom labels or tags. Feature your brand name, a heartfelt message, or even a simple hand-lettered design. These small details can transform a simple package into a thoughtful, one-of-a-kind gift.
| Packaging Material | Benefit | Aesthetic |
|---|---|---|
| Airtight Tins | Preserves Freshness | Sleek and Modern |
| Elegant Boxes | Protects Delicate Shapes | Sophisticated and Luxurious |
| Repurposed Jars | Eco-Friendly and Reusable | Rustic and Charming |
By thoughtfully selecting the right packaging and adding personalized touches, you can transform your homemade chocolates into unforgettable gifts. They will delight your loved ones.
Innovative Flavor Combinations and Add-ins
I love chocolate and the endless flavors it offers. Trying new combinations can make it even better. By using global tastes and herbs, we can make sweets that excite our taste buds.
Exploring Global Chocolate Flavors
The world is full of different cultures and flavors. Why not add global touches to your chocolate? You can use spices from the Middle East or citrus from Latin America. Try adding cardamom, rose, or chili for a new twist.
Working with Herbs and Spices
- Herbs like rosemary or mint can add a special touch to your chocolate.
- Spices like cinnamon, ginger, or black pepper can add warmth and depth.
- Try mixing flavors, like dark chocolate with lavender or milk chocolate with cayenne pepper.
Exploring global flavors and herbs can open up new chocolate experiences. Be bold and let your creativity show in your homemade treats.
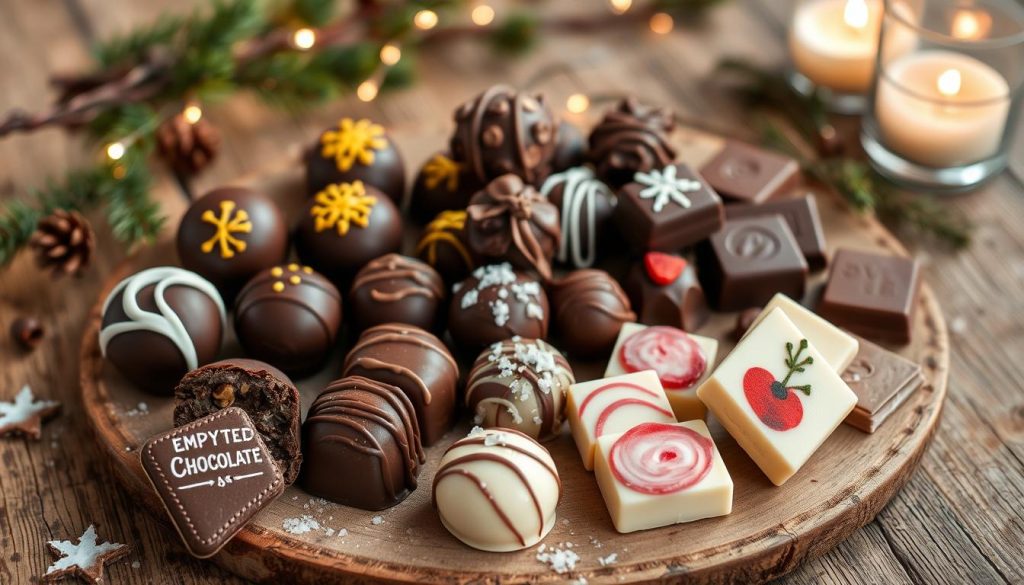
“The true power of chocolate lies in its ability to transcend boundaries and unite us through the universal language of flavor.”
Storing and Preserving Your Chocolate Creations
As a passionate chocolatier, I know how important it is to keep your homemade chocolates fresh. The right storage can make a big difference. It helps your chocolates stay tasty and smooth for longer.
Chocolates need a cool, dry place to stay fresh. The best temperature is between 65-70°F (18-21°C). Low humidity is also key. Heat, moisture, or sunlight can cause the chocolate to get a whitish haze, ruining its look and feel.
- For the best results, store your chocolates in an airtight container or zip-top bag. Keep them away from strong smells that could ruin the chocolates‘ flavor.
- Dark chocolates can last 2-3 months. Milk and white chocolates usually last 1-2 months.
- Truffles and filled chocolates with cream or fruit should be eaten within 1-2 weeks for the best taste.
By following these simple storage tips, your homemade chocolates and treats will stay as delicious as when you first made them. Keeping them fresh is the secret to enjoying your handcrafted confectionery for as long as you can.
“The secret of happiness is to make the most of the present moment. Enjoy your homemade chocolates while they last!”
Troubleshooting Common Chocolate-Making Problems
As a chocolate-making enthusiast, I’ve faced many challenges in the kitchen. But don’t let a few hiccups stop you. With the right troubleshooting techniques, you can solve even the toughest chocolate-making problems. This way, you can make confections that are as beautiful as they are delicious.
Seized Chocolate
One common issue is seized chocolate. This occurs when chocolate overheats, causing the cocoa butter and solids to separate. This results in a thick, grainy, and unworkable mess. To avoid this, melt chocolate gently over low heat, stirring often. Never let it get above 90°F (32°C).
Grainy Texture
A grainy texture can stem from several causes. These include improper tempering, using low-quality chocolate, or sugar crystals. For a smooth, velvety texture, temper your chocolate correctly. Also, use high-quality chocolate with consistent cocoa butter content.
Dull or Discolored Finish
If your chocolate looks dull or discolored, it might be due to poor storage or moisture. Always store chocolates in a cool, dry place. Avoid letting them touch water or steam.
Salvaging Failed Batches
Don’t give up if a batch of chocolate doesn’t work out. Often, you can save the chocolate by carefully remelting and re-tempering it. Just work slowly and gently to avoid more problems.
Remember, troubleshooting is part of learning. With practice and persistence, you’ll soon be making perfectly tempered, smooth, and glossy chocolate creations.
Special Dietary Considerations: Vegan and Sugar-Free Options
More people are choosing healthier and more ethical food options. This includes delicious desserts and sweets for different diets. Vegans and those watching their sugar intake have many tasty choices.
Plant-Based Chocolate Alternatives
Vegans no longer have to settle for bad chocolate. Today, there are many plant-based chocolate options that taste great. They’re made from ingredients like oat milk and cashews, and they’re better for the planet and our health.
- Coconut milk chocolate: A tropical twist on a classic, with a silky smooth mouthfeel.
- Almond milk chocolate: A nutty and subtly sweet alternative that melts beautifully.
- Soy-based chocolate: A versatile option that can be used in a variety of vegan desserts and sweets.
Natural Sweetener Solutions
For those who love sweets but want to watch their sugar, natural sweeteners are a great choice. Options like maple syrup and stevia let you enjoy sweet treats without the guilt.
- Stevia: A zero-calorie, plant-based sweetener that’s perfect for desserts and sweets.
- Monk fruit: A natural sweetener that’s up to 200 times sweeter than sugar, with a subtle, fruity flavor.
- Erythritol: A sugar alcohol that provides sweetness without the blood sugar spike.
Now, you can enjoy your favorite chocolatey treats without worrying about your diet. Indulge guilt-free and let your taste buds explore new flavors.
Tips for Scaling Up Your Chocolate Production
As your love for chocolate-making grows, you might want to make more. Scaling up your chocolate business is exciting but needs careful planning. Here are some tips to help you grow your chocolate-making skills.
Invest in the Right Equipment
Going from small batches to more production means new equipment. Look for bigger tempering machines, melting pots, and cooling systems. These will make your work easier and keep your chocolate quality high.
Optimize Your Workflow
With more chocolate to make, you need a better workflow. Plan out tasks like melting and molding. Use strategies like assembly lines to keep things smooth.
Maintain Quality Control
Even with more chocolate, quality should never slip. Set up strict checks to ensure every piece is perfect. Taste, check temperatures, and inspect visually to catch any issues.
Leverage Automation
Think about using semi-automated tools like chocolate depositors. They can make your work easier, save time, and keep your chocolate consistent.
Expanding your chocolate business is exciting. With the right equipment, workflow, quality checks, and automation, you can grow your production. This way, you can share your chocolate with more people.
Conclusion
As we wrap up our journey into homemade chocolates, I hope you now see the beauty of chocolate-making. We’ve covered the different types of chocolate and how to temper and make delicious treats. This guide has given you the tools to be creative in your kitchen.
Making your own chocolates is rewarding and lets you add a personal touch to gifts. Whether it’s making truffles, pralines, or unique flavors, sharing your chocolates is special. It brings joy to those who receive them.
Keep exploring and having fun with homemade chocolates. The possibilities are endless, and making something special is magical. Enjoy the art and flavors, and let your chocolates become a cherished part of your life and those you care about.
